Differences Between Cricut vs Silhouette

Differences Between Cricut vs Silhouette

When people come into the workshop looking for a cutting machine, they often have a clear project in mind, they generally know what they want it to look like, but where they get stuck is figuring out if they should start on a Cricut machine or a Silhouette.

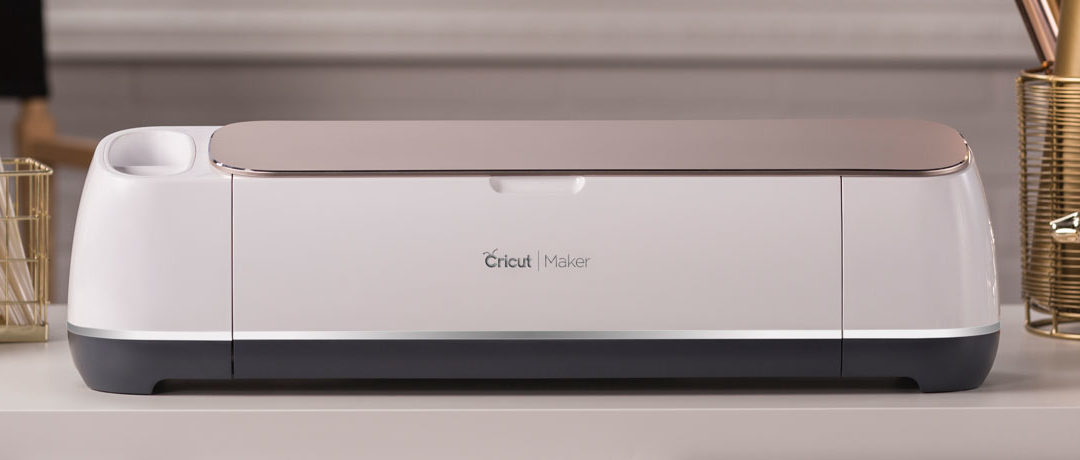
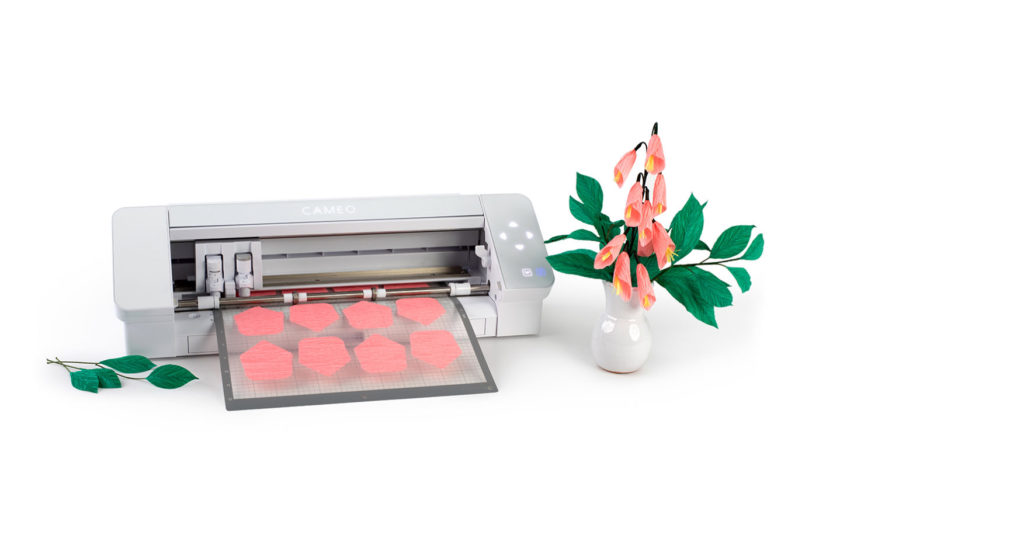
We carry both the Silhouette Cameo 4 and the Cricut Maker here, and I figured it’s time to go into a Cricut vs Silhouette comparison and really explore the differences.

There are three categories that really separate the two companies and machines: software, cutting ability, and community support.

Let’s go through them one by one:

Software differences between Cricut and Silhouette

Cricut machines all use the same Design Space software. Design Space is easy to learn, has a great, intuitive interface for laying out your projects, and allows you to import SVGs without any expensive add-ons. The major downside is that Cricut still doesn’t have true offline support (except on iOS), meaning that if you want to work on a project without an internet connection, you’re out of luck.

Silhouette, on the other hand, has some of the best software available for any cutting machine called Silhouette Studio. The best way to put it, with Silhouette Studio you can do everything you can in Design Space, but it’s designed so that as you become a more experienced crafter the software supports your ability instead of hindering it. Silhouette’s major flaw is that you can’t import SVG files with the Basic version which is included with a Cameo, you need to pay an additional $50.

Cutting quality differences between Cricut and Silhouette

If you’re comparing the Cricut Maker and Silhouette Cameo 4, you’re going to notice a lot of similarities here. With the previous Cameo 3, Cricut had a huge advantage even though their machines were a bit more expensive, currently you can’t go wrong with either machine.  So why does the category separate the machines? One word: vinyl.

The Silhouette Cameo 4 is your best choice if you know that you’ll be working on a large vinyl project, like an outdoor sign. The Cameo 4 can cut up to 60 feet of vinyl at a time, blowing the Maker’s 2 feet completely out of the water. If you’re more of a hobbyist and won’t be making such large cuts, the Cricut Maker has a pretty good advantage with all other materials.

Where the Maker really shows its true self is in cutting fabric and felt. If you work with a lot of cloth materials, or would use Cricut’s Sewing Library, you should really consider using the Cricut Maker as a first machine.

Community support

This is a more subjective category for Cricut and Silhouette. Each community has a different style and different projects which are featured in their tutorials. When I’m thinking about introducing someone to a cutting machine and thinking about Cricut vs Silhouette, what I usually do is recommend they find a tutorial for the project they want to work on, and see which machine that crafter uses. If you check out 4 or 5 different tutorials and most of them all use a Cricut Maker, well, that’s probably where you should start because if you have any issues you can always ask the author of the how-to.

We support both companies here and find that just about any project can be accomplished on either (except for what we mentioned about large vinyl projects above).

If you guys ever have a question, feel free to drop us a line, we’re always happy to recommend a machine if you know what kinds of crafts you’ll be getting yourself into. Feel free also to check out that link above which is where we grabbed some of the information

Getting Started With Cricut Paper Quilling

Getting Started With Cricut Paper Quilling

As long as people have had access to paper, they’ve practiced this really interesting craft known as paper quilling. I won’t give a full history of paper crafts in this post, but almost all of us have done it, even if we didn’t know it at the time.

Paper quilling is where you take a long, thin strip of paper and roll it into a shape. You’ve probably caught yourself doing this with paper wrappers or small scraps of paper you have lying around the house. Little did you know that you were engaging in a centuries-old artistic practice!

If you want an example of some quilling designs, I’ve linked a few of my favorites. I’ll continue on with some advice for getting started. I’ll assume you’re using your Cricut to get the paper cut into strips, but if you don’t have a vinyl cutter (they’re good for paper too!) you can just use a pair of scissors and a ruler.

When you’re getting started, if you search for paper quilling you’ll see people selling really colorful paper that’s already cut into strips. You absolutely don’t need to buy this, and I encourage you to make your own. You can start with simple strips of paper, and then vary them in the future by having different colors on each side, printing on them, or changing their thickness.

It’s also a good idea to start small. It’s easy to get better at things with practice, and crafting is no different, so for your first few projects you want them not only to be as easy as possible (so that you don’t get stuck) but as quick as possible. Fast projects let you see your mistakes faster, which lets you improve faster!

Don’t worry about getting the right tools for your first few projects. With a lot of crafts, I really recommend people take advantage of tools made specifically for that craft (like knitting or quilting), but with quilling you don’t need more more than your fingers and some paper to get the hang of it. Once you like your designs, you can invest a bit more into the right gear.

Don’t use too much glue. It’s always easy to add more glue if you need it, but it can be tricky taking it away. I know that you want your design to stick around forever and ever, but as my art teacher would always say: a little dab will do ya!

Definitely check out some of the premade quilling patterns I linked above, they can help a lot with crafting motivation and letting you see what your projects will look like in the future. Good luck out there!

How To Weed Adhesive Vinyl

How To Weed Adhesive Vinyl

One of the most difficult parts about crafting can be doing the very routine operations which you’ll repeat over and over. As you become a more experienced crafter, of course you improve at these acts, but for the beginner it can seem daunting and intimidating.

A lot of the people who come into our shop to use equipment (check over here for current operating hours and vinyl cutting machine availability) aren’t very experienced, they’re trying things out for the first time, deciding if they want to get their own machine, or looking for help from staff. We’ve been asked a lot of questions over the years so at the workshop we have materials that walk you through these routine operations (like weeding vinyl).

We’re going to start to publish those crafting guides here so that even if you’re at home with your own machine you can try things out and make mistakes in the comfort of your home! What a thought!

We use Cricut and Silhouette machines at the workshop, but this works for any style of cutting vinyl, even if you’re just doing it by hand with an Xacto-Knife.

Weeding adhesive vinyl

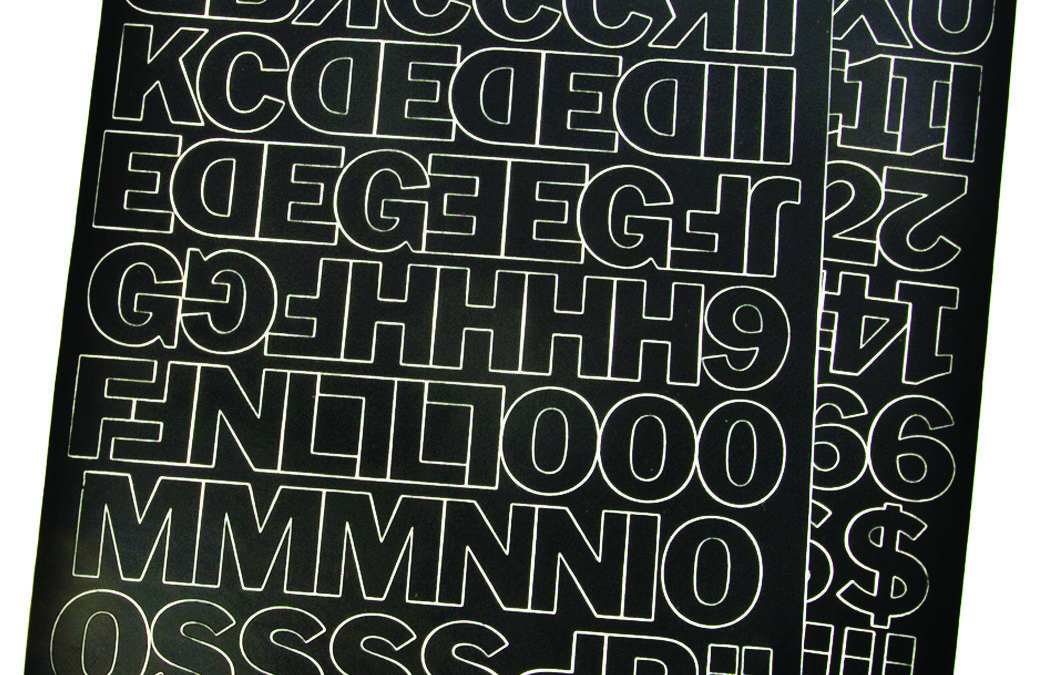
You’re weeding vinyl any time that you’ve cut adhesive vinyl and you have vinyl that you don’t want on your finished product. This is important because if you don’t weed vinyl, you’ll wind up just sticking an entire sheet to your material and it won’t look like anything at all!

So what you want to do is remove the negative space, this is the part of the design that you don’t want on your finished craft. A good starter for beginners is to cut out a simple shape (like a circle or triangle) and then remove the vinyl around it. You’re now left with a basic shape you can stick on something.

More intricate designs, letters, they all work the same way, but sometimes the vinyl you want to remove (like with a letter) is inside of the design. This would be like if you had a circle with a smaller circle inside of it.

As you can see, if you made cuts on both of those lines (two circles) you could weed (or remove) the vinyl from the smaller circle and be left with a ring.

If you understand this, that’s the basic principle! Let’s go into some tips to help you do it cleanly without tearing the vinyl.

Weeding vinyl tips

Keep these tips in mind and you’ll have a much easier time working with your vinyl:

  • Cut off all of the vinyl you won’t be using
  • Use a weeding hook to make your life a lot easier, if you don’t have one, tweezers work great. If you’re cutting the vinyl by hand with an x-acto, you can just use that.
  • Don’t remove your vinyl from your Cricut mat before weeding it
  • If you’re having an issue finding the weeding lines, shine a light through the back. Cricut makes a product called the Cricut BrightPad, but any bright light will work, even a flashlight.
  • Beyond having a lightback, you really want to have good lighting. Pull over a reading light, desk light, or do it in a really well lit space. If you’re a nighttime crafter, make sure to have good light!
  • If you’re using a Cricut with old blades or that you haven’t used in a while and you’re having trouble weeding vinyl, the cutting blade sharpness could be your issue. Try replacing the blades and trying again

Best of luck! Please let us know which tips work best for you, and feel free to come on down and use our workshop!

Our Workshop

We’re an all-service vinyl printing workshop based in Norwalk, CT.

Due to current issues, there’s currently a 2-4 week waiting list on new orders. If you have a current order with us, please contact us for a status update or any changes that need to be made.

Categrories